Stirling centre section
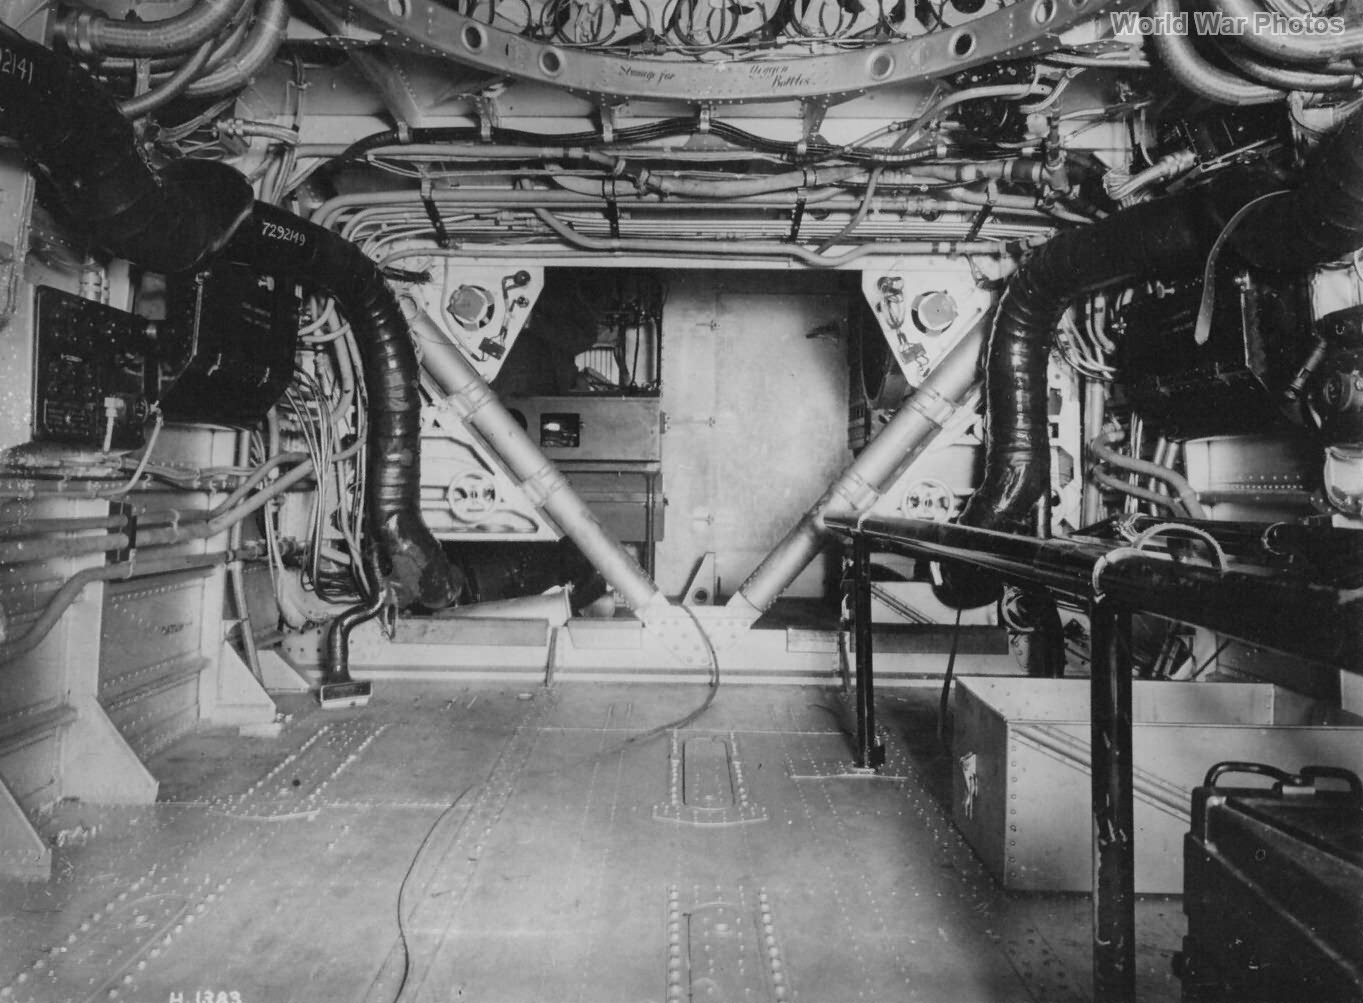
Central compartment of the Stirling with the central bomb bay below and the oxygen bottle stowage area above
Central compartment of the Stirling with the central bomb bay below and the oxygen bottle stowage area above