
Stirling part 1
Click the thumbnails to enlarge them
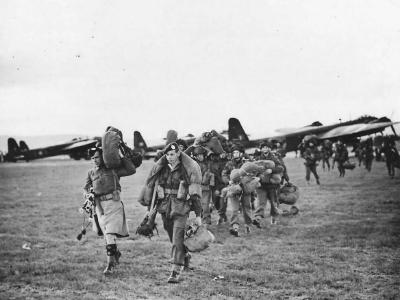
1st Airborne Division soldiers and Stirling Bombers Operation Doomsday Norway 1945
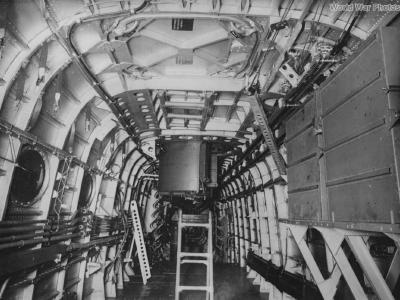
Access to the Nash & Thompson FN.7A dorsal turret
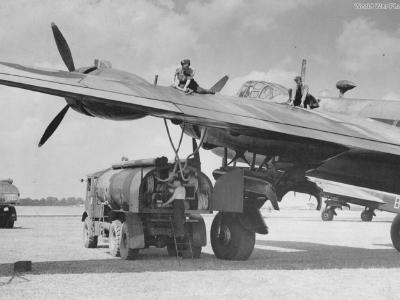
AEC 854 Matador refueling a Stirling at Waterbeach in 1943
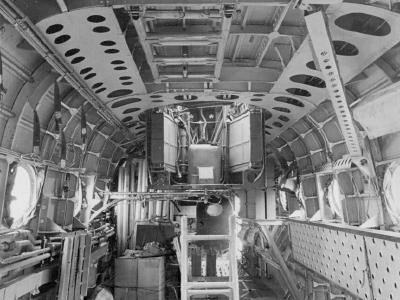
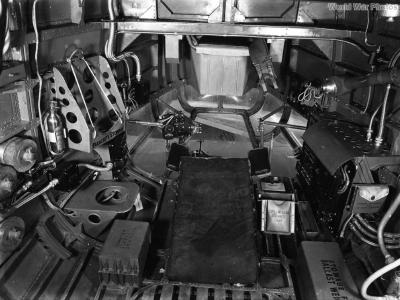
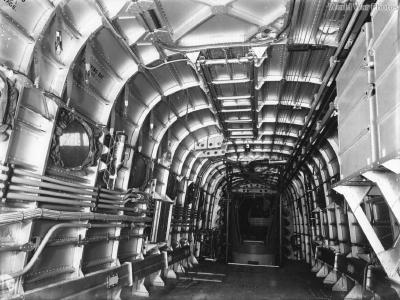
An interior view looking aft from behind the centre section.
Bomb aimer station with Mk XIV bomb sight
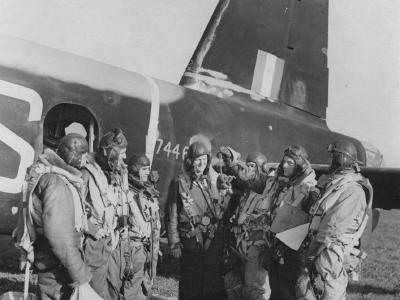
Bomber Command Crew with Stirling MG-S W7446 October 1941
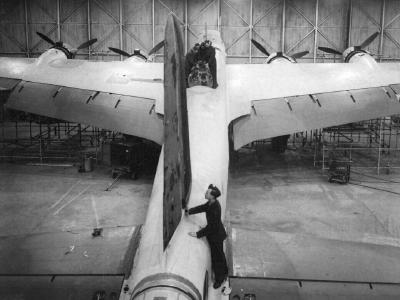
Bomber is inspected before being painted
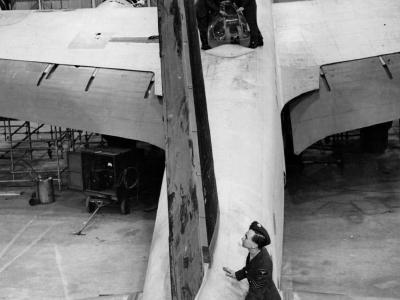
Bomber is inspected before being painted and sent back to an operational unit, 1942.

Bombing up Stirling at RAF Station in England 1941
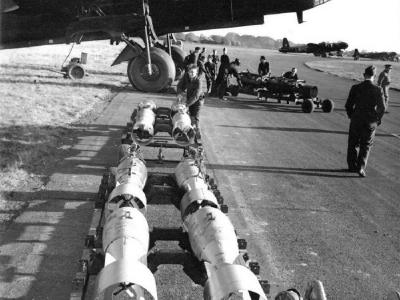
Bombs sit ready to load on Stirling MG-G of No. 7 Squadron RAF October 1941
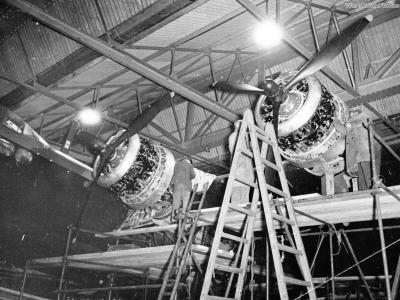
Bristol Hercules engines
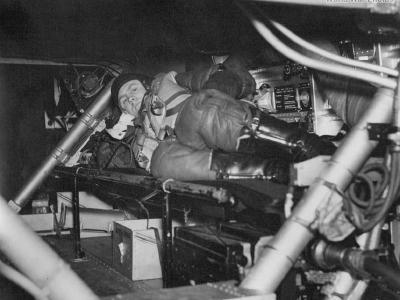
Bunk of a bomber
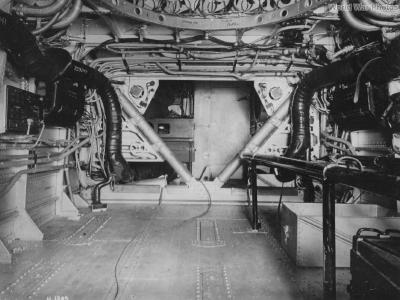
Central compartment of the Stirling with the central bomb bay below and the oxygen bottle stowage area above
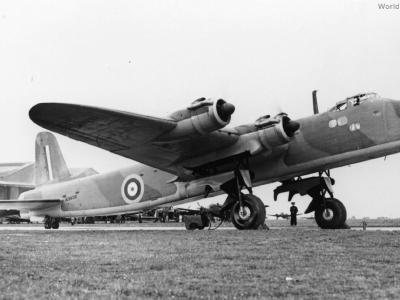
Early Stirling Mk I N3638 at Sydenham
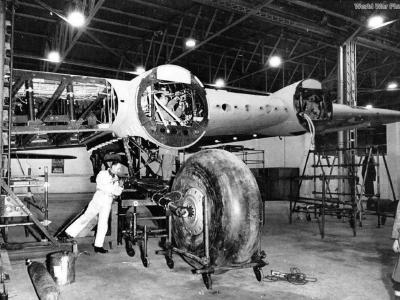
Engineers work on the undercarriage at Longbridge
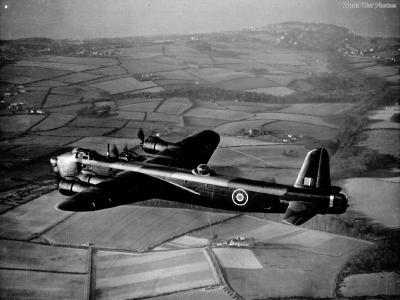
Factory fresh Stirling Mk III BF509
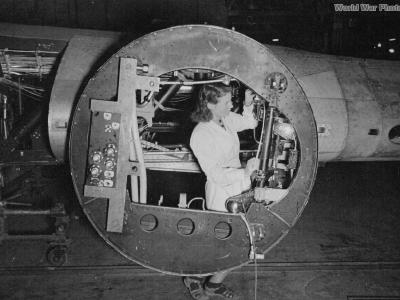
Female technician works on an engine nacelle of a Stirling at Longbridge in January 1942
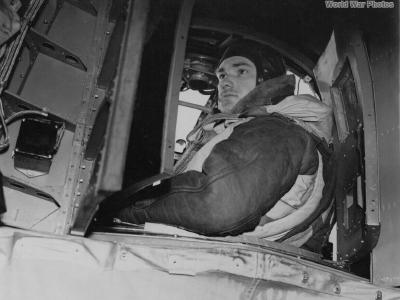
Front Gunner
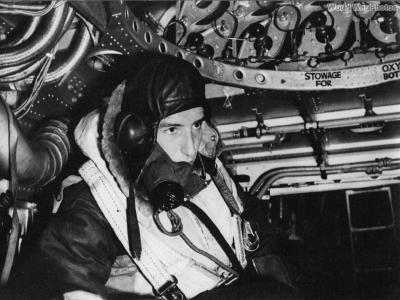
Front Gunner
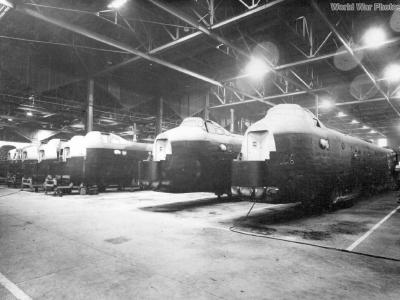
Fuselages minus tailplane, turrets and fin
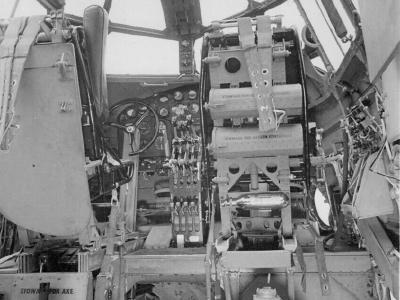
General view of the cockpit area
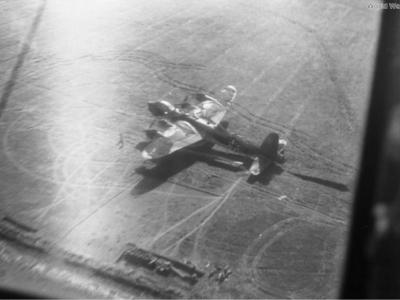
German Stirling on the ground
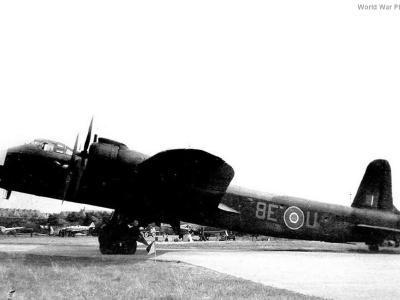
Glider tug Stirling Mk IV 8E-U of No. 295 Squadron RAF
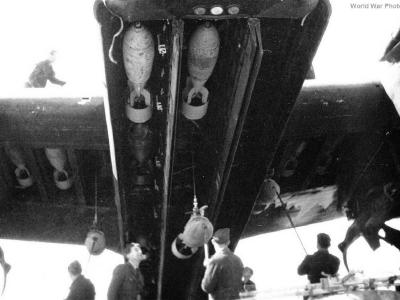
Ground crewman hoist bomb 1942
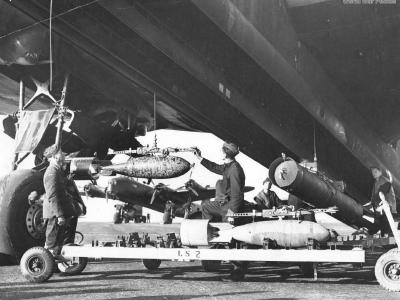
Ground crewman hoist bomb 2
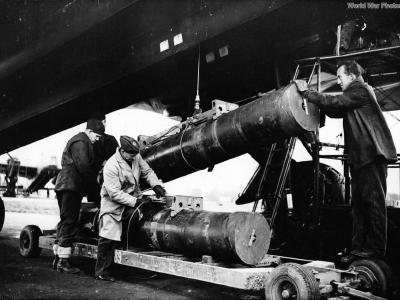
Ground crews loading mines onto a Stirling bomber
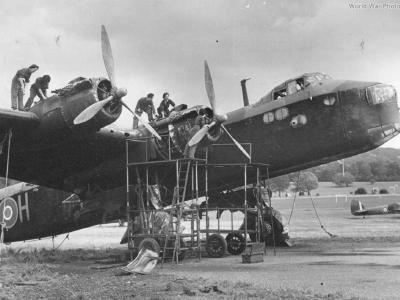
Groundcrew service the Bristol Hercules engines.
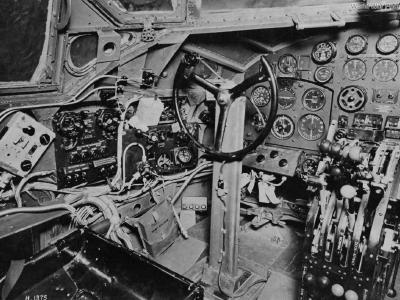
Instrument panel of the Stirling
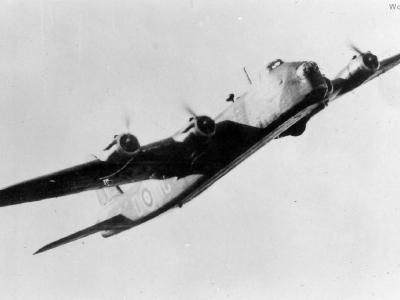
MG-D N3641 of 7 Sqn in flight
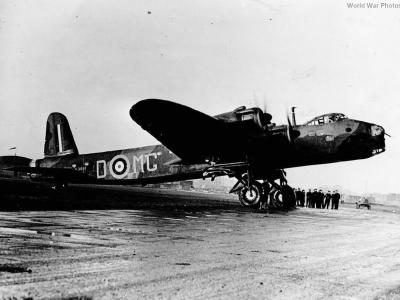
N3641 MG-D of No. 7 Squadron RAF 1940
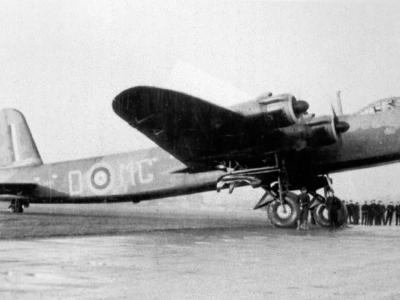
N3641 MG-D of No. 7 Squadron RAF at Oakington
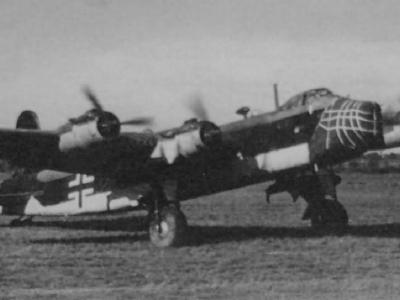
N3705 of 7 Sqn made a forced landingat Gorinchem in Holland
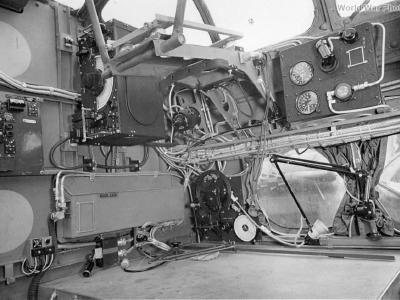
Navigator’s position on the port side of the bomber

No. 15 Squadron RAF Stirlings Mk I and Hurricane escorts

No. 218 (Gold Coast) Squadron RAF Stirling bombing up at Downham Market 1942
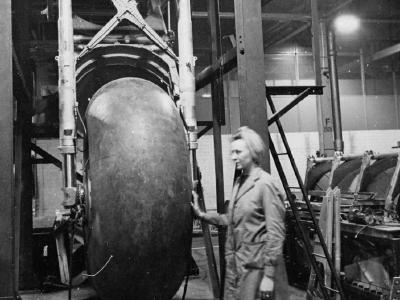
One of the workers at the Austin Motors factory at Longbridge in January 1942
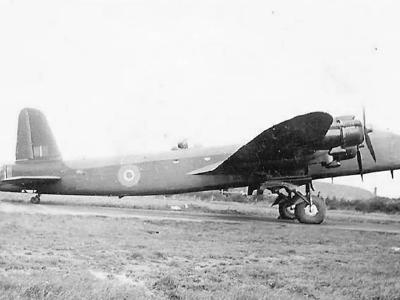
RAF bomber command bomber Stirling Mk III
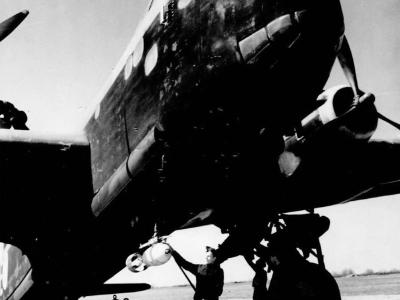
RAF ground crew loading bombs onto a Stirling bomber 1942 2

RAF pilots seated at controls of Short Stirling '41
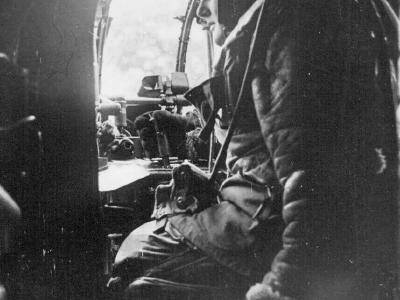
Rear gunner turret
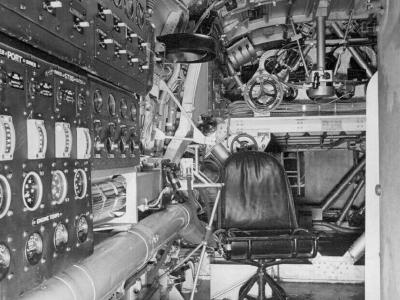
Room of the flight engineer

Short S.31/M4 prototype in flight
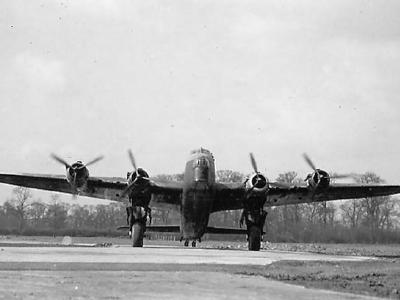
Short Stirling Bomber code XT-M of No. 1657 Heavy Conversion Unit RAF
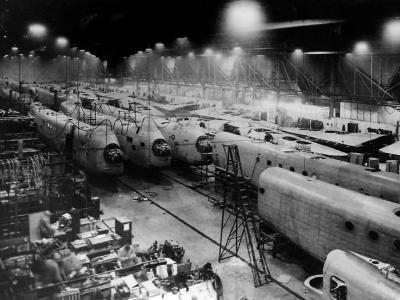
Short Stirling bombers on production line at factory in England 42
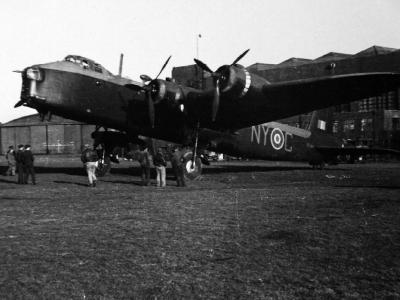
Short Stirling code NY-C of No. 1665 Conversion Unit RAF

Short Stirling code XT-M of No. 1657 HCU RAF 2

Short Stirling code XT-M of No. 1657 Heavy Conversion Unit RAF

Short Stirling coded XT-M of No. 1657 H.C.U. RAF

Short Stirling Mk I of No. 7 Squadron RAF N3643 MG-G 1941
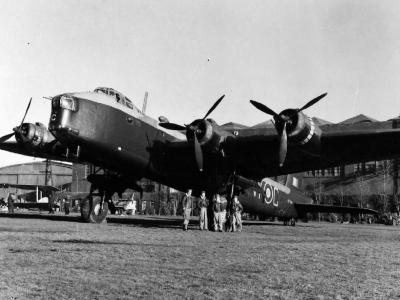
Short Stirling NY-C of No. 1665 Heavy Conversion Unit RAF 3

Short Stirling tail with D-Day stripes

Short Stirling W7455 OJ-B of No.149 Squadron RAF Bomber Command at Mildenhall 1942

Short Stirlings Towing Horsa Gliders Across Rhine 1945
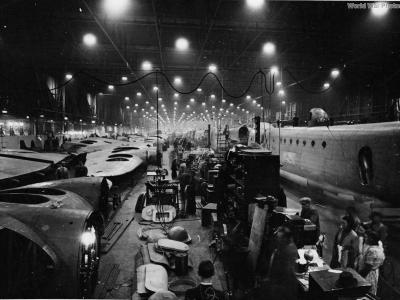
Stirling assembly line
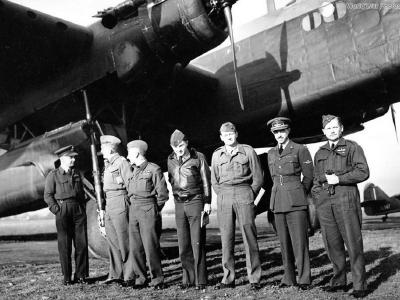
Stirling at Empire Central Flying School
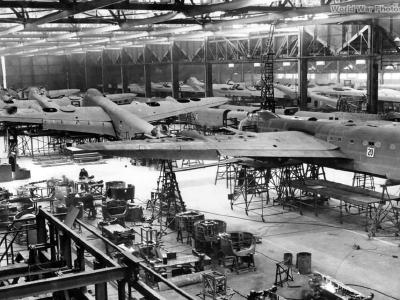
Stirling Belfast
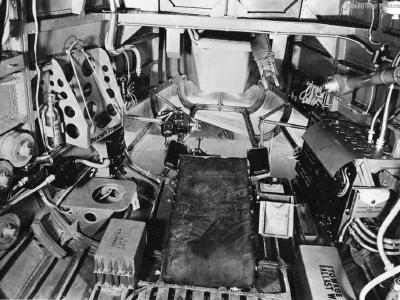
Stirling bomb aimer position
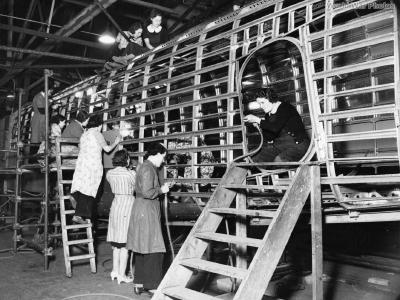
Stirling Bomber Production
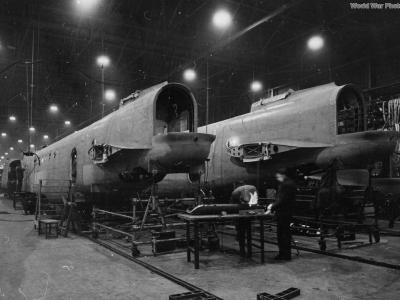
Stirling bomber under construction at Longbridge.
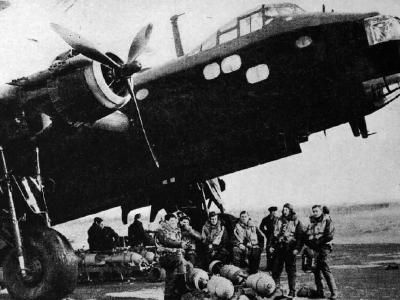
Stirling bomber with crew
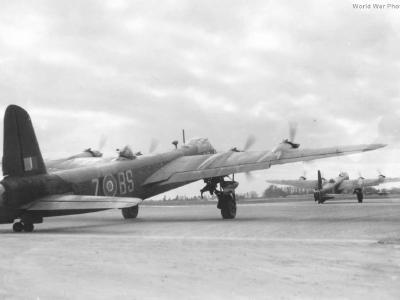
Stirling BS-Z of 1651 HCU
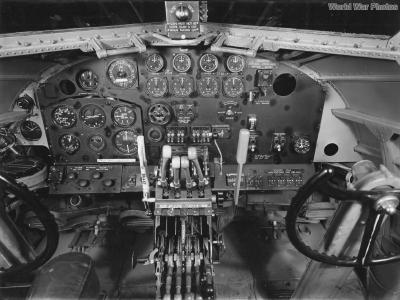
Stirling cockpit
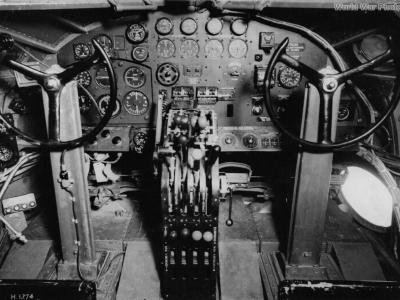
Stirling cockpit
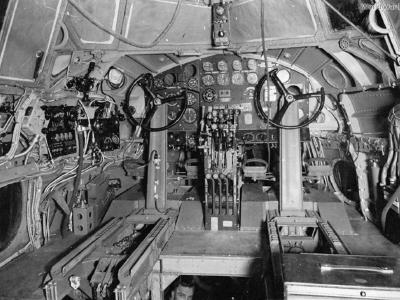
Stirling cockpit
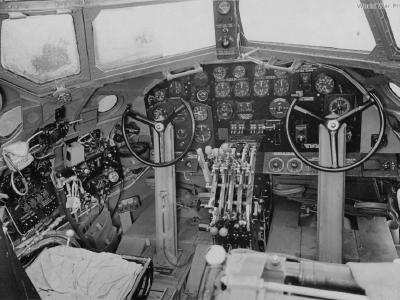
Stirling cockpit 2
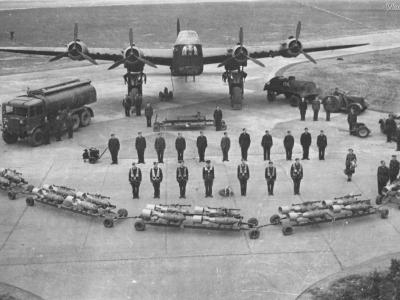
Stirling crew, grounf personel and bombs
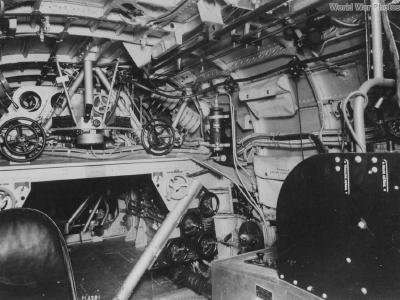
Stirling engineers controls
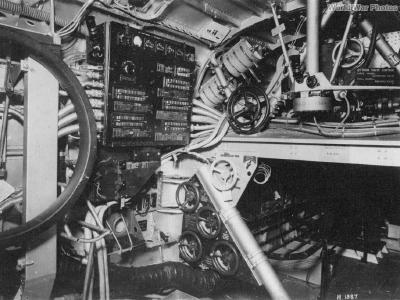
Stirling engineers controls
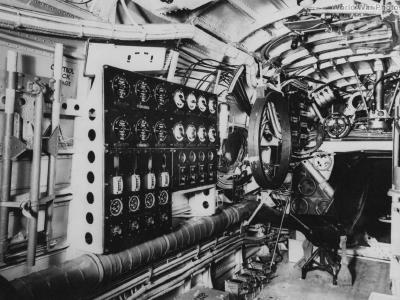
Stirling engineers instrument board
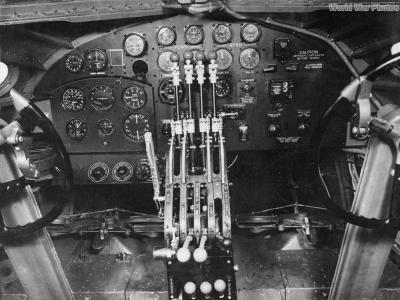
Stirling Flight Controls
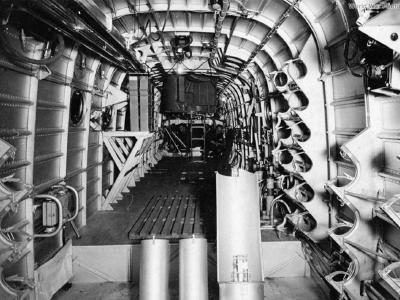
Stirling fuselage
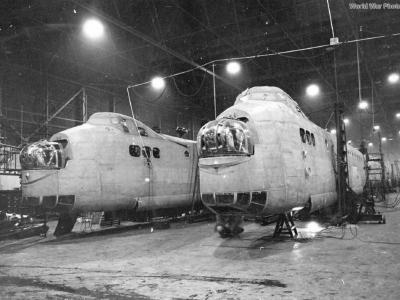
Stirling fuselages at Austin plant
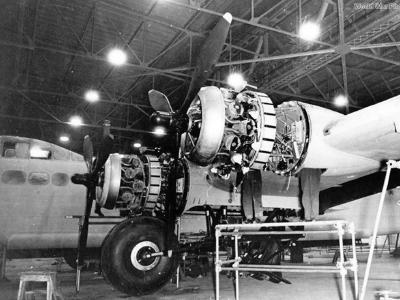
Stirling Hercules XI engines
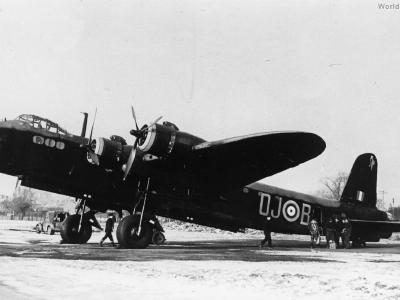
Stirling I OJ-B W7455 of No. 149 Squadron RAF
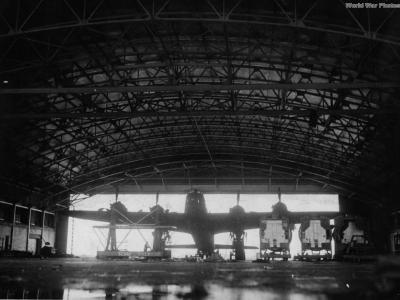
Stirling in hangar 1942
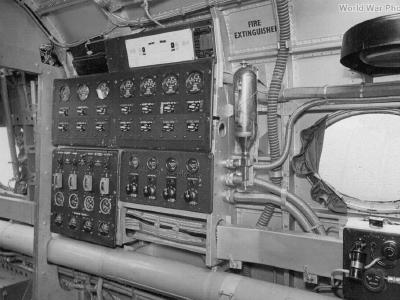
Stirling interior
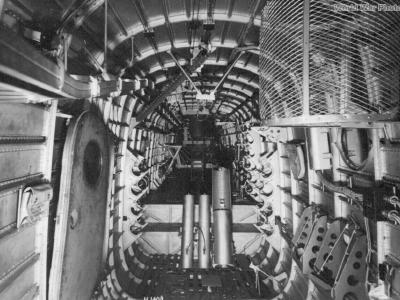
Stirling interior
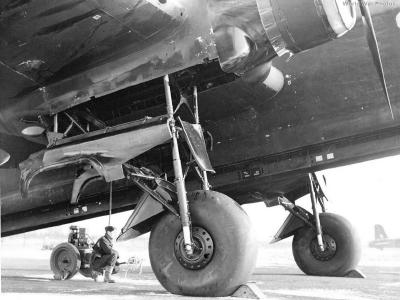
Stirling main gear
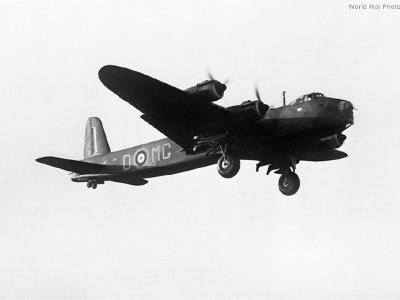
Stirling MG-D N3641 landing 1941
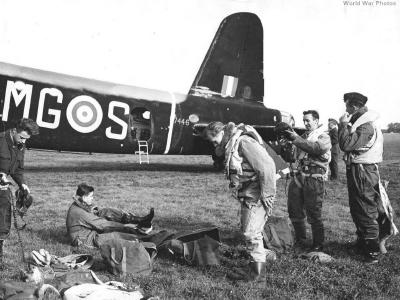
Stirling MG-S W7446 bomber crew prepare for flight October 1941
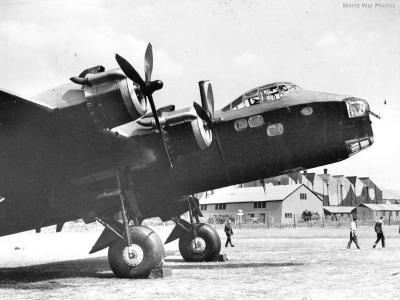
Stirling Mk I 2
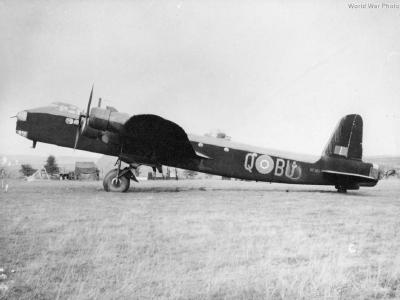
Stirling Mk I BF382 BU-Q of No. 214 Squadron at RAF Stradishall
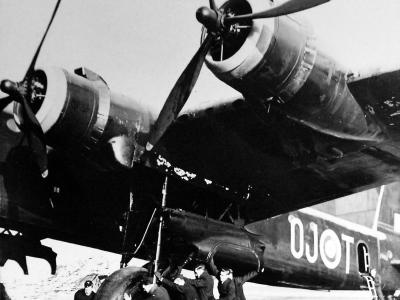
Stirling Mk I code OJ-T of No. 149 Squadron RAF
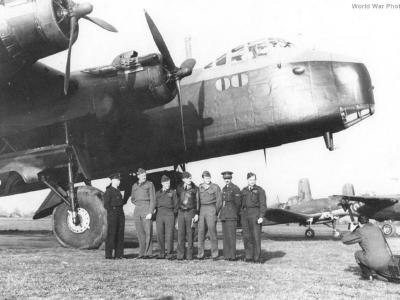
Stirling Mk I crew
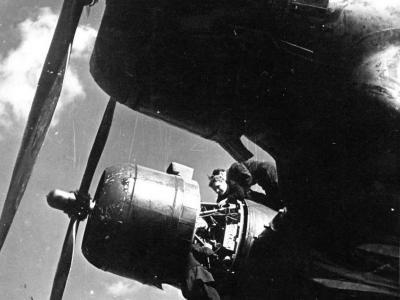
Stirling Mk I during maintenance
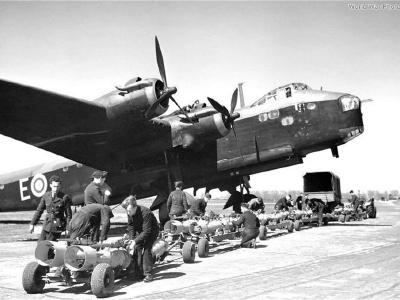
Stirling Mk I E
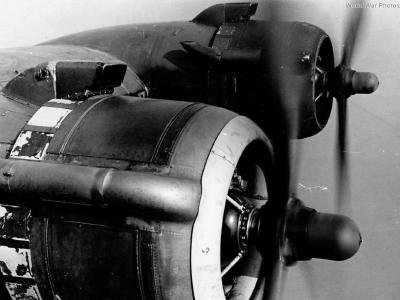
Stirling Mk I engines
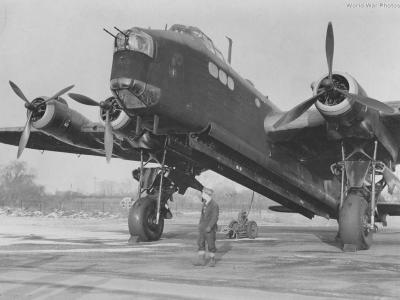
Stirling Mk I front view
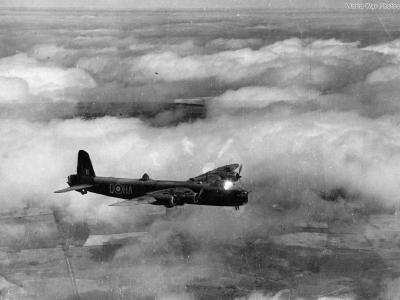
Stirling Mk I HA-Q of No. 218 (Gold Coast) Squadron RAF
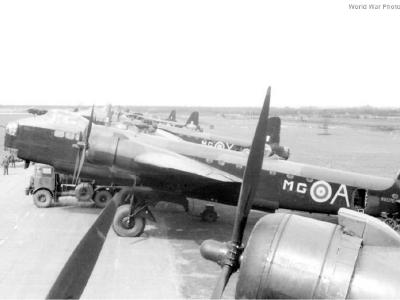
Stirling Mk I MG-A N6075 of No. 7 Squadron RAF
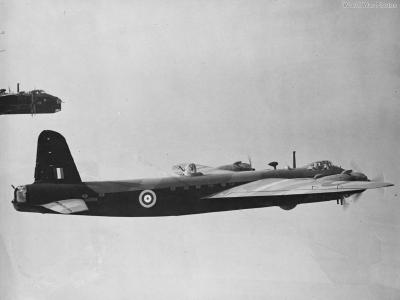
Stirling Mk I N6069 of 1651 Conversion Unit
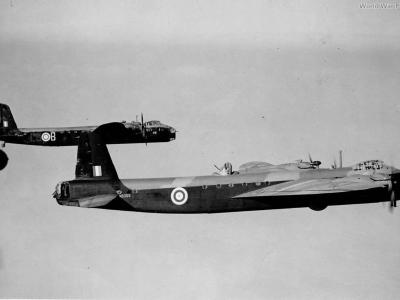
Stirling Mk I N6069 of 1651 Conversion Unit in flight 2
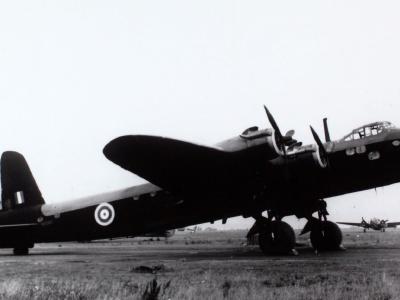
Stirling Mk I N6090
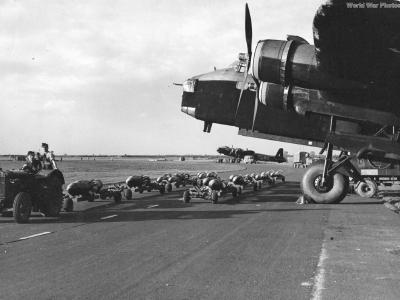
Stirling Mk I of No. 7 Squadron RAF October 1941
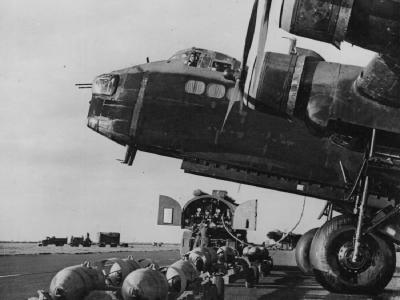
Stirling Mk I of No. 7 Squadron RAF October 1941 2
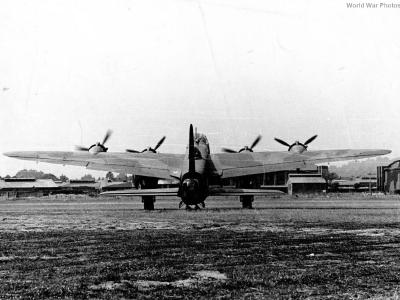
Stirling Mk I rear view
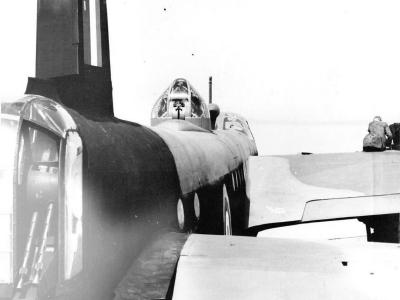
Stirling Mk I turrets
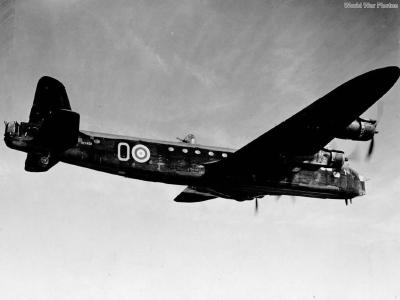
Stirling Mk I W7459 of No. 1651 Conversion Unit RAF 2
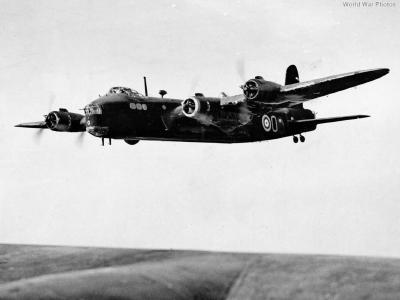
Stirling Mk I W7459 of No. 1651 Conversion Unit RAF 3
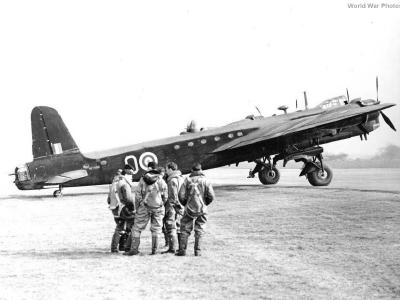
Stirling Mk I W7459 of No. 1651 Conversion Unit RAF before training flight
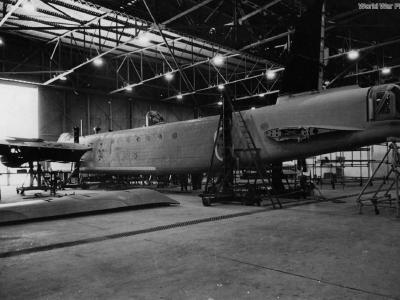
Stirling Mk I W7508 fuselage under construction at Longbridge
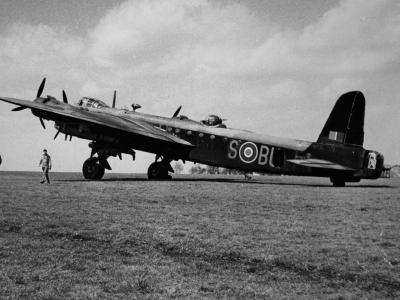
Stirling Mk I W7577 code BU-S of No. 214 Squadron RAF
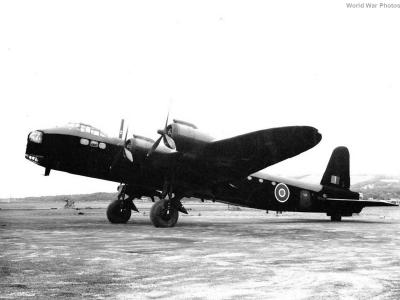
Stirling Mk III 2
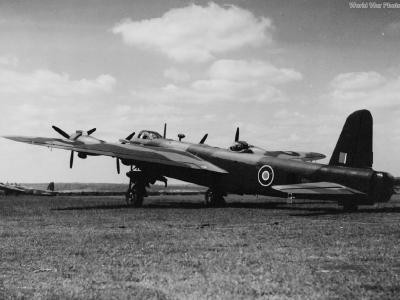
Stirling Mk III 3
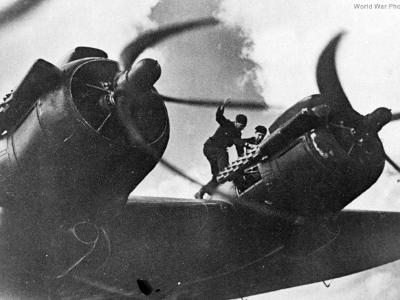
Stirling Mk III of No. 90 Squadron RAF warming up for a mission
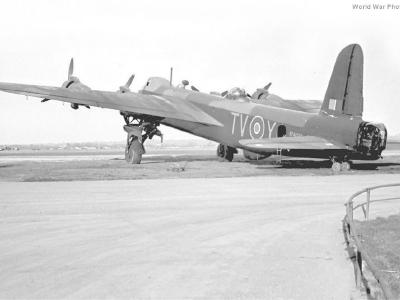
Stirling Mk III TV-Y of No. 1660 Conversion Unit RAF with H2S radar
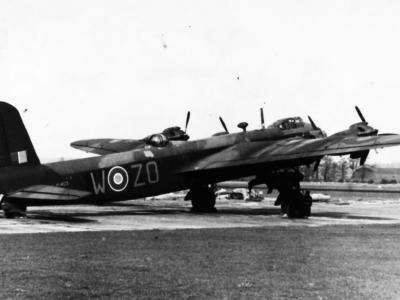
Stirling Mk III ZO-W LK403 of No. 196 Squadron RAF
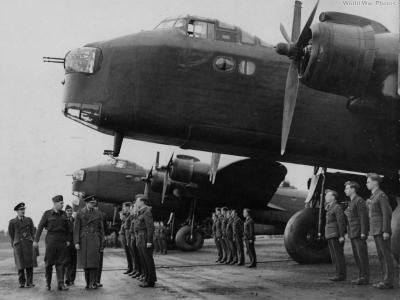
Stirling Mk III. Duke of Gloucester visit Squadron in 1943
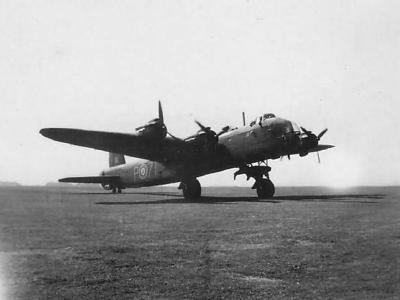
Stirling Mk IV code 7T-P of No. 196 Squadron RAF Transport Command
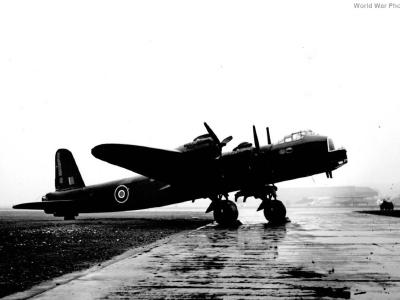
Stirling Mk IV on the ground
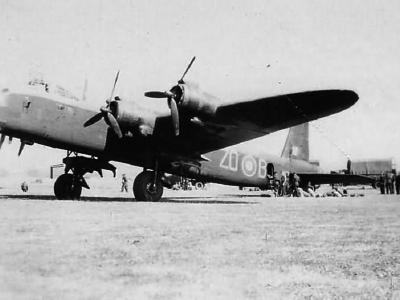
Stirling Mk IV ZO-B of No. 196 Squadron RAF
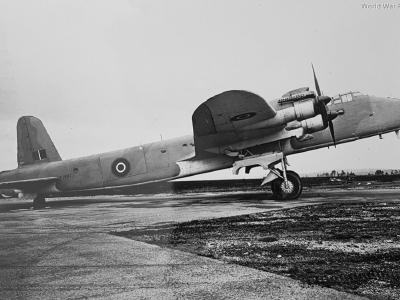
Stirling Mk V PJ897 transport version
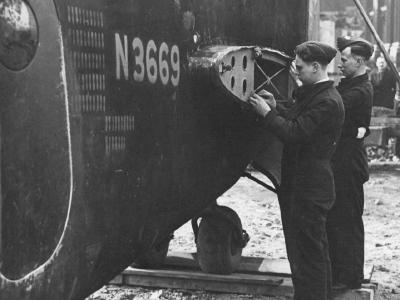
Stirling N3669 1943
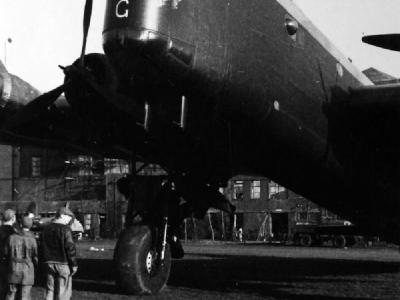
Stirling NY-C of No. 1665 Conversion Unit RAF 2
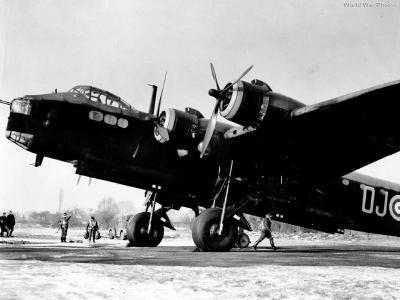
Stirling of No. 149 Squadron RAF 1942
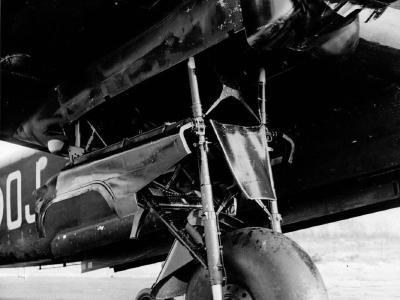
Stirling of No. 149 Squadron RAF main gear
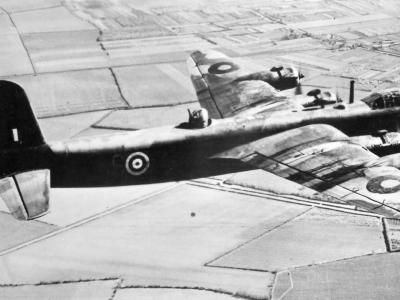
Stirling of No. 1651 Conversion Unit RAF in flgiht
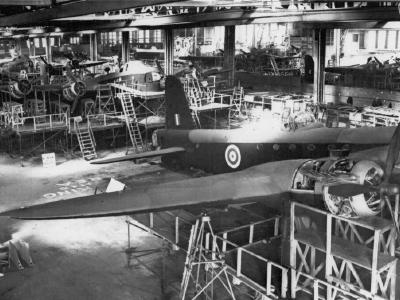
Stirling production

Stirling production Belfast 1942
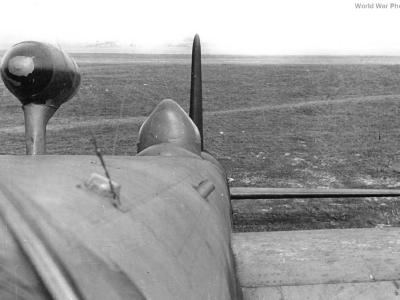
Stirling rear 2
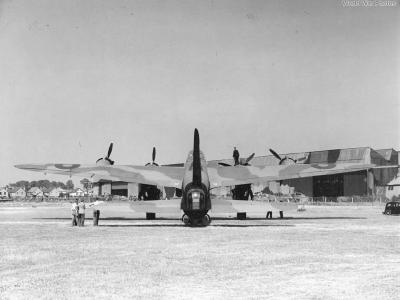
Stirling rear view 2
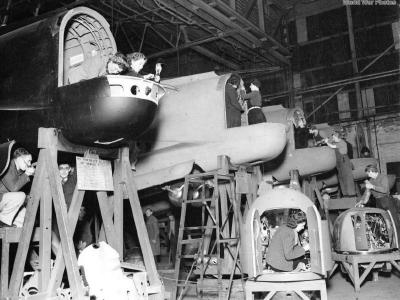
Stirling tail section under construction at Austin factory
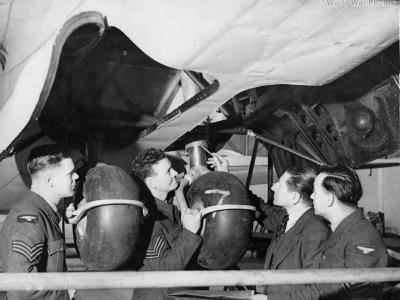
Stirling tail wheels
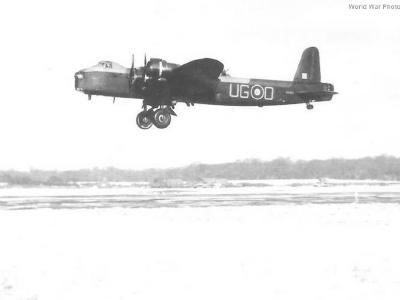
Stirling UG-O of No. 1654 HCU
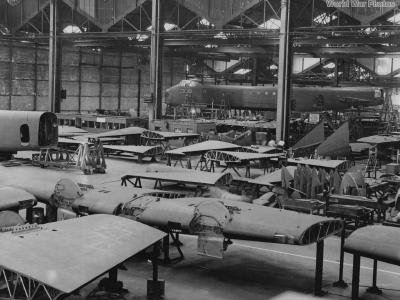
Stirling under construction
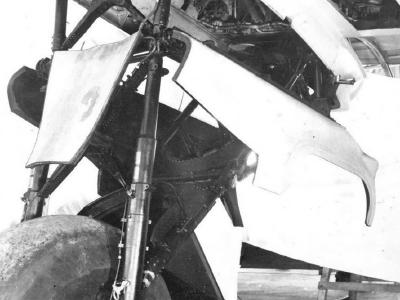
Stirling undercarriage 3
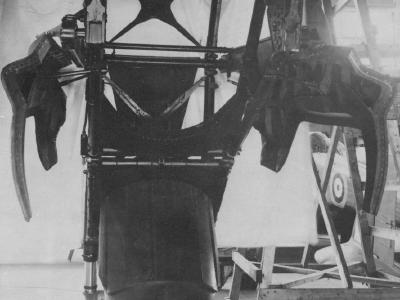
Stirling undercarriage, rear view 2
Stirling ventral turret
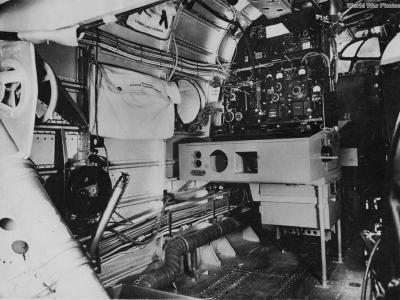
Stirling Wireless Operator Control Station
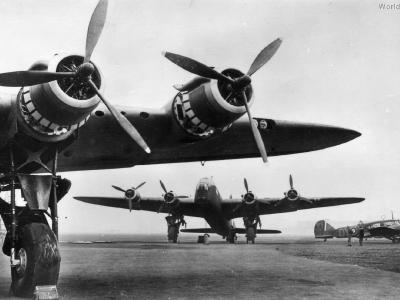
Stirlings and Avro Anson of No. 48 Squadron RAF
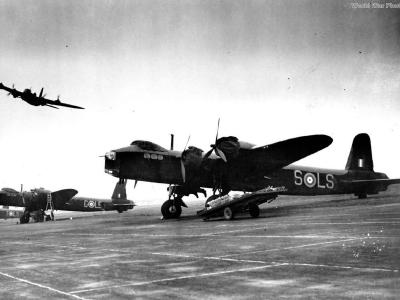
Stirlings LS-S. LS-G and LS-T of 15 Squadron RAF
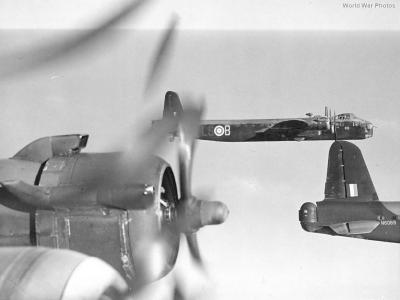
Stirlings of the 1651 Conversion Unit in formation
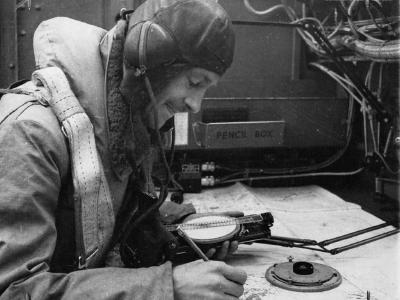
The navigator's table was situated behind and slightly below the pilot's seat, and consisted of a table for map-reading and basicinstrumentation.
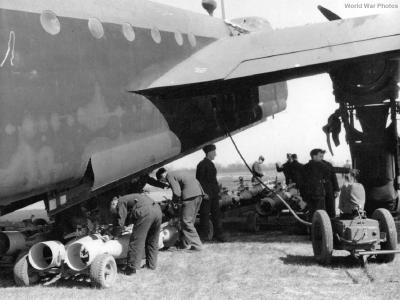
The RAF bomber command crew, pictured loading bombs onto a Stirling
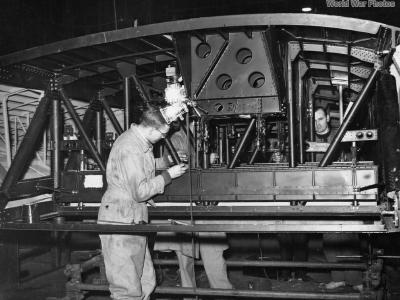
Wing was constructed around a pair of main spars, covered with light alloy sheeting and flush-riveted
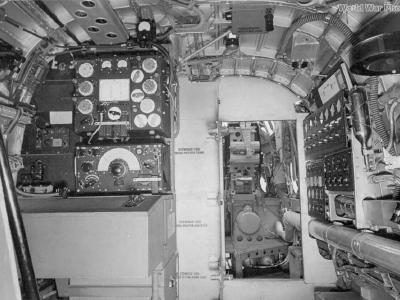
Wireless operator's station (left)
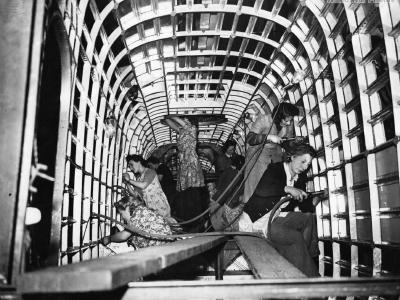
Women made up the majority of the workforce that built the Stirlings so desperately needed by Bomber Command in the early days of the war.
The Stirling was a World War II heavy bomber design built by Short Brothers. It was the first British design meant to use four engines from the outset, an otherwise successful experiment that was hampered by a number of odd design requirements. In the end it would be relegated to second-line duties, while four-engine conversions of earlier twin-engine designs took over its role. Through the 1930’s the Royal Air Force was interested primarily in twin engine bombers. These designs put limited demands on engine production and maintenance, both of which were already stretched with the introduction of so many new types into service. However. the limitations in terms of power were so serious that they invested heavily in development of huge engines in the 2,000 horsepower class in order to improve performance. Meanwhile the US and USSR were developing bombers with four smaller engines instead, which proved to have excellent range and fair lifting capacity. So in 1936 the RAF decided to try their hand at the four engine bomber as well. It wasn’t entirely clear what they wanted in an aircraft, and the resulting Specification B.12/36 was an odd mix of features. In addition to a 14,000 lb (6,350 kg) bombload carried to a range of 3,000 miles (4,800 km)(incredibly demanding for the era), the aircraft should also be able to be used as a troop transport for 100 soldiers. The idea was that it would fly troops to far corners of the British Empire, and then support them with bombing. To help with this task as well as ease production, it needed to be able to be broken down into parts for transport by train. Since it could be operating from limited airfields, it needed to lift off from a 500 ft (150 m) runway and able to clear 50 ft (15 m) trees at the end, a specification most small aircraft would have a problem with today. In addition, so it would fit into existing hangars, the wingspan should not exceed 100 ft (30 m). This last requirement was particularly odd, as the most common Type C hangar opened to over 125 ft (38 m). Shorts was one of eleven designs returned in response to the requirements, but were likely the only company that could have realistically started production in a short time. They had several four-engine flying boat designs of the needed size, and created their S.29 design by basically removing the lower deck and boat hull of their S.25 Sunderland. The S.29 was largely identical otherwise; the wings and controls were the same, construction was identical, and it even retained the slight upward bend at the rear of the fuselage, originally intended to keep the Sunderland’s tail clear of sea spray. Shorts managed to persuade the RAF to dismiss most of its unrealistic design goals when they saw that the S.29 would be an excellent bomber. But on one point the RAF stood firm: the S.29 used the Sunderland’s 114 ft (35 m) wing, and they demanded it be reduced to less than 100 ft (30 m). In order to get the needed lift, the resulting redesigned wing was thickened and reshaped. Shorts first constructed a half scale version as the S.31, which flew in September 1938. Everyone was happy with the design in general, with the exception of the takeoff run was thought too long. Fixing this required the angle of the wing to be increased for takeoff, meaning the aircraft would be flying nose down while cruising. Instead, Shorts lengthened the landing gear to tilt the nose up more on the runway, leading to its spindly gear. The first S.29, now known as the Stirling, took to the air in May 1939 with four Bristol Hercules engines. Upon landing one of the brakes locked, causing it to skew off the runway and the landing gear collapsed. A redesign added a much stronger and heavier set of gear on the second prototype. On its first mission two months later one of the engines failed on take-off, but the plane landed easily. From then on the record improved and service production started in August 1940 at Shorts’ factory. Several were destroyed during Battle of Britain raids, and operational status wasn’t reached until January 1941. Although it wasn’t as large as the US and Soviet experimental designs, the Stirling had considerably more power and far better payload/range than anything then flying. The massive 17,000 lb (7,700 kg) bombload put it in a class of its own, double that of any other bomber. In fact it was larger than the Avro Lancaster and Handley-Page Halifax which would eventually replace it, but both of these were originally designed to have twin engines. The design mounted nose and tail turrets (the later was notable for the wide angles it could point its guns), and included a retractable ventral turret just behind the bomb bay that was fired by remote control. This proved to be almost useless due to the limited visibility through the sighting system, with the added distraction that the turret tended to drop when taxing over bumps and hit the ground. It was removed almost from the start, to be replaced by a new dorsal turret instead. This turret had its own problems: it had a metal back with an escape hatch in it, but it turned out to be almost impossible to use. The later Stirling Mk.III instead used a fully glazed turret that removed the hatch, and had more room and an improved view. The first few Mk.I’s received the Hercules II, but the majority received the 1,500 hp (1.100 kW) Hercules XI. The Mk.III was similar with the exception of the new dorsal turret and the improved 1,635 hp (1.2 MW) Hercules VI or XVI engines, which improved maximum speed from 255 to 270 mph (410 to 435 km/h). The Stirling proved to be an excellent design and pilots were delighted to discover that it could outturn the Junkers Ju 88 and Messerschmitt Bf 110 nightfighters they faced: a side effect of that thick wing. Another side effect of the thick wing was poor altitude performance, and many missions were flown as low as 12,000 ft (4,000 m). This made the plane particularly difficult to use in many scenarios, notably if they were attacking Italy and had to fly over the Alps. When operated along with other RAF bombers flying at higher altitudes, the Luftwaffe ignored the latter and concentrated on the low-flying Stirlings. Within five months of being introduced, 67 out of the 84 aircraft delivered had been lost to enemy action or written off after crashes. In addition the Stirling’s huge bomb load was only able to be delivered at short ranges. On typical missions into Germany or Italy a smaller 3,500 lb (1,600 kg) load was carried, consisting of seven 500 lb (230 kg) bombs. This was the sort of load being carried by the RAF’s medium bombers such as the Vickers Wellington, and by 1944 by the deHavilland Mosquito. Perhaps the biggest problem with the design was that the bomb bay had dividers running down the middle, limiting it to carrying 500 lb (230 kg) bombs at the largest. As the RAF started using the 4000 lb (1,800 kg) ‘cookies’, and even larger ‘specials’, the Stirling became less useful to them. By March of 1943 the Stirlings were already being phased out of bomber duty, seeing more use for dropping mines outside German ports, and dropping spies deep behind enemy lines at night (through the now unused ventral turret ring). In 1944 a new Mk.IV series was built without the nose and dorsal turrets for towing gliders and dropping paratroops, and the otherwise similar Mk.V removed the tail turret as well. Total production : 2383.